
Appearance
Zookeeper的使用及安装看Zookeeper系列文章,这里就不细讲了,直接使用ZKClient整合Zookeeper。
xml
<dependency>
    <groupId>com.github.sgroschupf</groupId>
    <artifactId>zkclient</artifactId>
    <version>0.1</version>
</dependency>
config.yml配置文件
config.yml配置文件新增zookeeper的配置,填写你的ip及端口号和超时时间。
yaml
xim:
  tcpPort: 9000
  # ……
  zkConfig:
    zkAddr: 192.168.31.76:2181
    zkConnectTimeOut: 5000
BootstrapConfig新增zkConfig:
java
@Data
public class BootstrapConfig {

    private TcpConfig xim;

    @Data
    public static class TcpConfig {
		// ……
        private ZkConfig zkConfig;
    }

    @Data
    public static class ZkConfig {
        private String zkAddr;
        private Integer zkConnectTimeOut;
    }
}
全局变量新增Zookeeper相关
java
public class Constants {
    public static final String ImCoreZkRoot = "/im-coreRoot";
    public static final String ImCoreZkRootTcp = "/tcp";
    public static final String ImCoreZkRootWeb = "/web";
}
创建节点工具类
Zookeeper是通过树形节点来管理数据的,每个TCP服务需要注册两段数据到Zookeeper,分别是原生TCP数据和WebSocket数据。
- TCP数据存放在
/im-coreRoot/tcp/目录下,每个TCP通过ip:端口区分,所以获取当前服务数据应该是获取/im-coreRoot/tcp/ip:port - WebSocket数据则是存放在
/im-coreRoot/web/目录下,和TCP类似数据应在/im-coreRoot/web/ip:port获取
java
package com.xk857.im.tcp.register;

import com.xk857.im.common.constant.Constants;
import org.I0Itec.zkclient.ZkClient;
public class ZKit {

    private ZkClient zkClient;

    public ZKit(ZkClient zkClient) {
        this.zkClient = zkClient;
    }

    /**
     * 创建根节点 im-coreRoot/tcp/ip:port
     */
    public void createRootNode() {
        // 检查Root节点是否存在,如果不存在则创建
        boolean exists = zkClient.exists(Constants.ImCoreZkRoot);
        if (!exists) {
            zkClient.createPersistent(Constants.ImCoreZkRoot);
        }

        // 检查tcp节点是否存在,如果不存在则创建
        boolean tcpExists = zkClient.exists(Constants.ImCoreZkRoot + Constants.ImCoreZkRootTcp);
        if (!tcpExists) {
            zkClient.createPersistent(Constants.ImCoreZkRoot + Constants.ImCoreZkRootTcp);
        }

        // 检查websocket节点是否存在,如果不存在则创建
        boolean webExists = zkClient.exists(Constants.ImCoreZkRoot + Constants.ImCoreZkRootWeb);
        if (!tcpExists) {
            zkClient.createPersistent(Constants.ImCoreZkRoot + Constants.ImCoreZkRootWeb);
        }
    }

    /**
     * 创建新节点
     * @param path ip+port
     */
    public void createNode(String path) {
        if (!zkClient.exists(path)) {
            zkClient.createPersistent(path);
        }
    }
}工具类在项目启动时调用createRootNode,先检查根节点是否存在如不存在则创建;然后在创建二级节点,最后传递ip+端口调用createNode方法创建具体节点。创建具体节点我们使用RegisterZookeeper类单独封装下逻辑:
java
package com.xk857.im.tcp.register;

import com.xk857.im.codec.config.BootstrapConfig;
import com.xk857.im.common.constant.Constants;
import lombok.extern.slf4j.Slf4j;

@Slf4j
public class RegisterZookeeper implements Runnable {

    private ZKit zKit;
    private String ip;
    private BootstrapConfig.TcpConfig tcpConfig;

    public RegisterZookeeper(ZKit zKit, String ip, BootstrapConfig.TcpConfig tcpConfig) {
        this.zKit = zKit;
        this.ip = ip;
        this.tcpConfig = tcpConfig;
    }

    @Override
    public void run() {
        zKit.createRootNode();
        // /im-coreRoot/tcp/ip:port 保障TCP网关的配置文件独立性
        String tcpPath = Constants.ImCoreZkRoot + Constants.ImCoreZkRootTcp + "/" + ip + ":" + tcpConfig.getTcpPort();
        zKit.createNode(tcpPath);
        log.info("Registry zookeeper tcpPath success, msg=[{}]", tcpPath);

        // /im-coreRoot/web/ip:port 保障TCP网关的配置文件独立性
        String webPath = Constants.ImCoreZkRoot + Constants.ImCoreZkRootWeb + "/" + ip + ":" + tcpConfig.getWebSocketPort();
        zKit.createNode(webPath);
        log.info("Registry zookeeper webPath success, msg=[{}]", tcpPath);
    }
}
启动类调用并注册Zookeeper
java
public class Starter {
public static void main(String[] args) throws FileNotFoundException {
if (args.length > 0) {
start(args[0]);
}
}
private static void start(String path) {
try {
// ……
// 初始化Zookeeper
registerZK(bootstrapConfig);
} catch (Exception e) {
e.printStackTrace();
// 如果有错误,直接退出整个程序
System.exit(500);
}
}
TCP多服务启动
创建config2.yml文件,将端口号+1,其余参数不变。
yaml
xim:
  tcpPort: 9001
  webSocketPort: 19001
  bossThreadSize: 1
  workThreadSize: 4
  heartBeatTime: 30000
  redis:
    mode: single
    database: 5
    password:
    timeout: 3000
    poolMinIdle: 8
    poolConnTimeout: 3000
    poolSize: 10
    single:
      address: 127.0.0.1:6379
  rabbitmq:
    host: 192.168.31.76
    port: 5672
    virtualHost: /
    userName: admin
    password: monkeyz1368
  zkConfig:
    zkAddr: 192.168.31.76:2181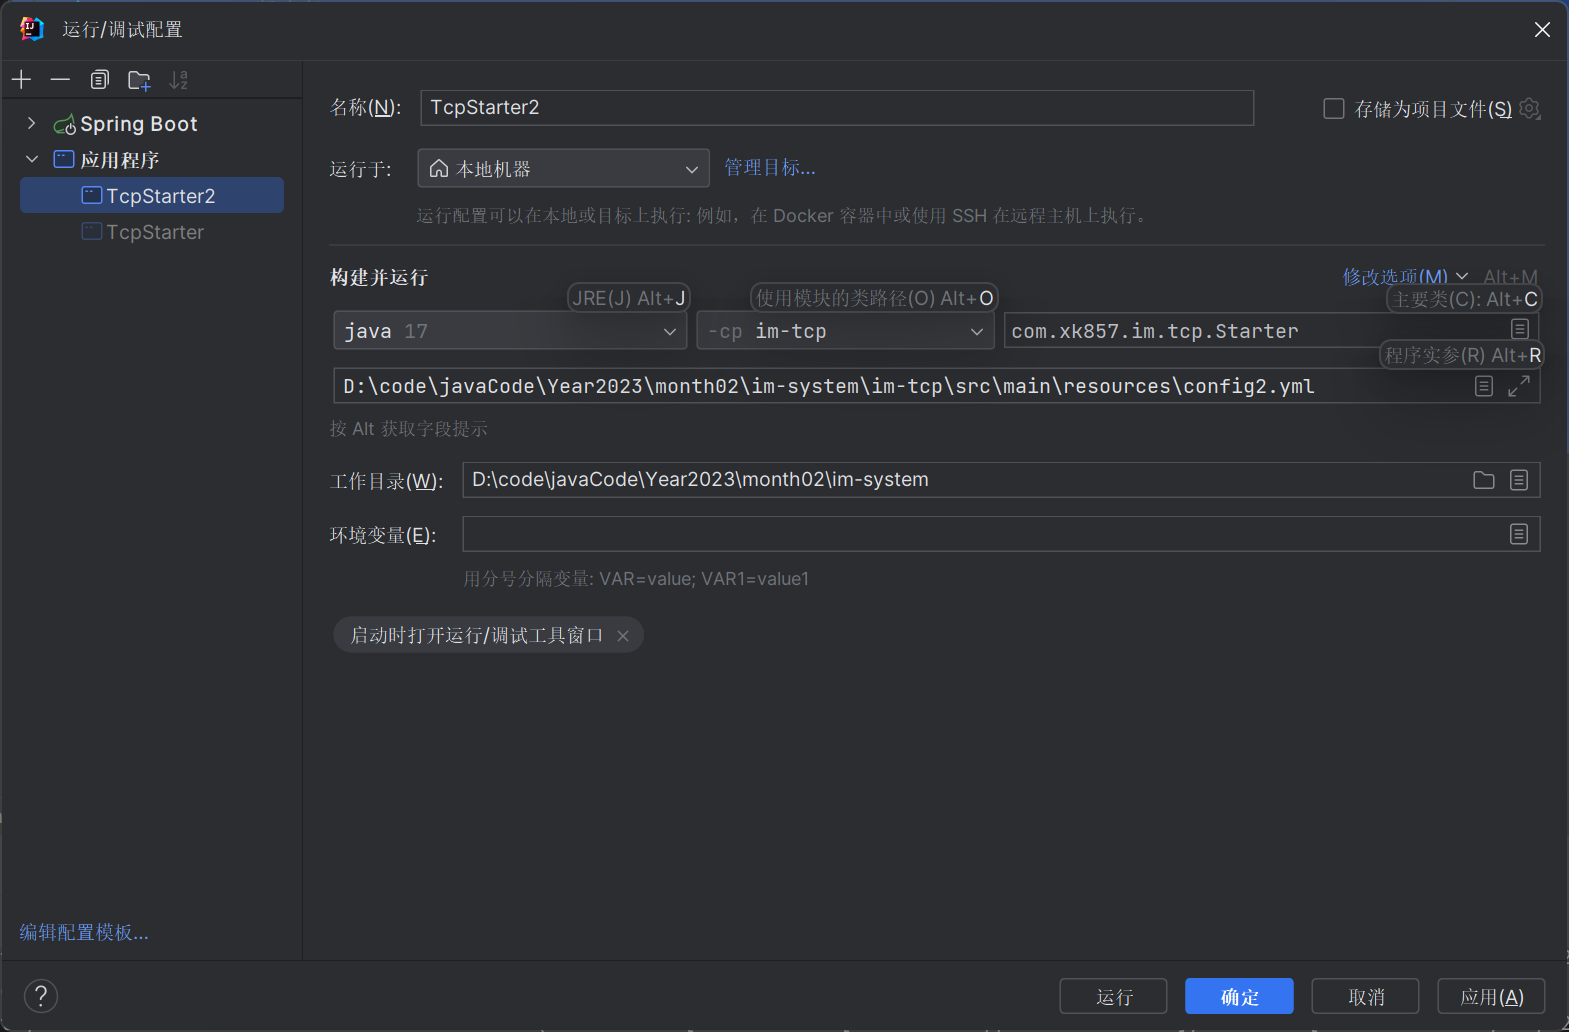
zkConnectTimeOut: 5000在IDEA中添加一个TcpStarter2,传递参数改成config2.yml,其余保持不变。
TCP问题剖析
如图所示,假设我们有N个Netty服务器,每个服务器管理自己的Channel,如果现在用户的请求被分发到了Server1服务器,但是其Channel连接信息保存在Server2服务器上,此时我们和客户端的通信就成了问题。

思考一下,这里其实有几种解决方案:
- 广播:Server1接收到请求如果没找到Channel,则把消息推送给其他服务器,谁找到了谁处理。
- 优点:实现简单
- 缺点:容易产生吞吐量问题,一次性接收到多条消息再发送给多台服务器,流量压力被无线放大,分布式效果被降到最低,成本最高。
- 一致性Hash:所有消息先发送的Server1,Server1通过Hash算法计算用户信息取模,如果
x%2==0则它的所有消息都交给Server2,如果x%3==0则交给Server3。- 优点:实现简单,不会有复杂计算,也不会造成额外的流量压力
- 缺点:极度依赖服务发现的稳定性,一定要感知Netty服务器的活跃度,如果添加服务器则其他服务器需要重启,重新建立各Netty间的连接。
- 构建路由层:提前制定规则,判断当前请求该哪个Netty服务器处理。
- 优点:能很好应对流量峰值,且路由层可以水平扩展(添加服务器方便),通过MQ解构,发送消息给对应Netty处理。
- 缺点:实现负责,并且非常依赖路由层的稳定性
- 本系统使用方案3,路由存放在Redis中,我们只需要保障Redis的可靠性即可。
分布式功能实现
config.yml和config2.yml新增brokerId属性,如下所示,注意brokerId在每各服务的值应该是不同的,brokerId的功能就是区分各Netty服务器
yaml
xim:
  brokerId: 1000
BootstrapConfig:
java
@Data
public class BootstrapConfig {

    private TcpConfig xim;

    @Data
    public static class TcpConfig {
        private Integer brokerId;
    }
}userSession中存放的数据,应该新增brokerId和brokerHost。
java
@Data
public class UserSession {
    private String userId;
    private Integer appId;
    private Integer clientType;
    private Integer version;
    private Integer connectState;

    private Integer brokerId;
    // 此Netty服务器的ip
    private String brokerHost;
}
NettyServerHandler中向用户Session添加brokerId和brokerHost信息:
java
public class NettyServerHandler extends SimpleChannelInboundHandler<Message> {

    private static final Log log = LogFactory.get();
    private final Integer brokerId;
    public NettyServerHandler(Integer brokerId) {
        this.brokerId = brokerId;
    }

    @Override
    protected void channelRead0(ChannelHandlerContext ctx, Message msg) throws Exception {
        Integer command = msg.getMessageHeader().getCommand();
        if (command == SystemCommand.LOGIN.getCommand()) {
            login(ctx, msg);
        } else if (command == SystemCommand.LOGOUT.getCommand()) {
            // 用户主动退出,清空用户登录Session信息
            SessionSocketHolder.removeUserSession((NioSocketChannel) ctx.channel());
        } else if (command == SystemCommand.PING.getCommand()) {
            // 如果是心跳消息,设置心跳最后一次跳动时间
            ctx.channel().attr(AttributeKey.valueOf(Constants.ReadTime)).set(System.currentTimeMillis());
        }
    }

    /** 用户登录,将session存入redis,保存channel并存放userId */
    private void login(ChannelHandlerContext ctx, Message msg) {
        // 1.先将消息体转换成字符串,再转换成LoginPack对象
        LoginPack loginPack = JSONUtil.toBean(JSONUtil.toJsonStr(msg.getMessagePack()), LoginPack.class);

        // 2.封装用户session信息
        UserSession userSession = new UserSession();
        userSession.setUserId(loginPack.getUserId());
        userSession.setAppId(msg.getMessageHeader().getAppId());
        userSession.setClientType(msg.getMessageHeader().getClientType());
        userSession.setVersion(msg.getMessageHeader().getVersion());
        userSession.setConnectState(ImConnectStatusEnum.ONLINE_STATUS.getCode());
        userSession.setBrokerId(brokerId);
        try {
            userSession.setBrokerHost(InetAddress.getLocalHost().getHostAddress());
        }catch (Exception e) {
            log.error("获取当前服务器ip错误:{}", e.getMessage());
            e.printStackTrace();
        }

        // 3.将session信息存储到redis中
        RedissonClient redissonClient = RedisManager.getRedissonClient();
        RMap<String, String> map = redissonClient.getMap(String.format(Constants.RedisConstants.UserSessionConstants, msg.getMessageHeader().getAppId(), loginPack.getUserId()));
        map.put(msg.getMessageHeader().getClientType() + "", JSONUtil.toJsonStr(userSession));

        // 4.存放数据到channel对象中,类似servlet的Session,后续可根据channel连接对象获取到userId
        ctx.channel().attr(AttributeKey.valueOf(Constants.UserId)).set(loginPack.getUserId());
        ctx.channel().attr(AttributeKey.valueOf(Constants.AppId)).set(msg.getMessageHeader().getAppId());
        ctx.channel().attr(AttributeKey.valueOf(Constants.ClientType)).set(msg.getMessageHeader().getClientType());
        // 5.通过统一连接管理类将channel存起来
        SessionSocketHolder.put(msg.getMessageHeader().getAppId(), loginPack.getUserId(), msg.getMessageHeader().getClientType(), (NioSocketChannel) ctx.channel());
    }
}
在Netty服务器启动类向Handler传递brokerId
java
public class XimServer {
    public XimServer(BootstrapConfig.TcpConfig config) {
        // ……
        server = new ServerBootstrap();
        server.group(bossGroup, workerGroup)
            // ……
            .childHandler(new ChannelInitializer<SocketChannel>() {
                @Override
                protected void initChannel(SocketChannel sc) throws Exception {
                    // ……
                    sc.pipeline().addLast(new NettyServerHandler(config.getBrokerId()));
                }
            });
    }
}